Interface labels and routes were verified on October 18, 2026. Your organization may show different counts, tabs, permissions, or approval states.
Before you begin
You need an iBlueprint account and access to an organization. Keep private account details, organization identifiers, secrets, and internal-only content out of public documentation.1. Open the Governance Center
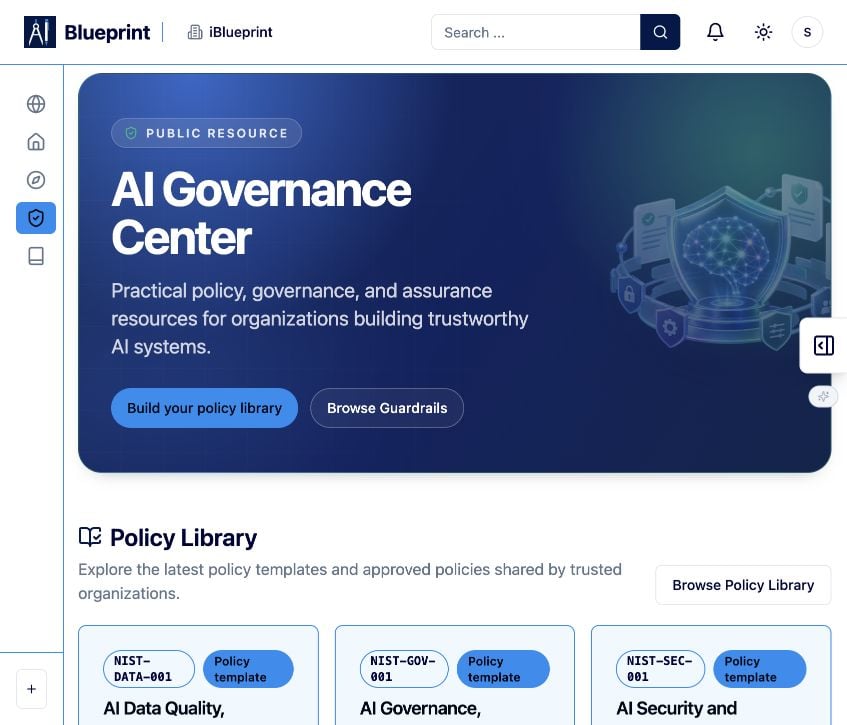
The Governance Center is the starting point for governance resources and links into organization governance.- Open Governance Center from the iBlueprint navigation, or visit /ai-governance-center.
- Review Policy Library, Guardrail Library, and Evals Library.
- Select Build your policy library to open the organization governance workspace.
- Use Browse Guardrails or Browse Policy Library to start from a public template.
2. Build the organization policy library
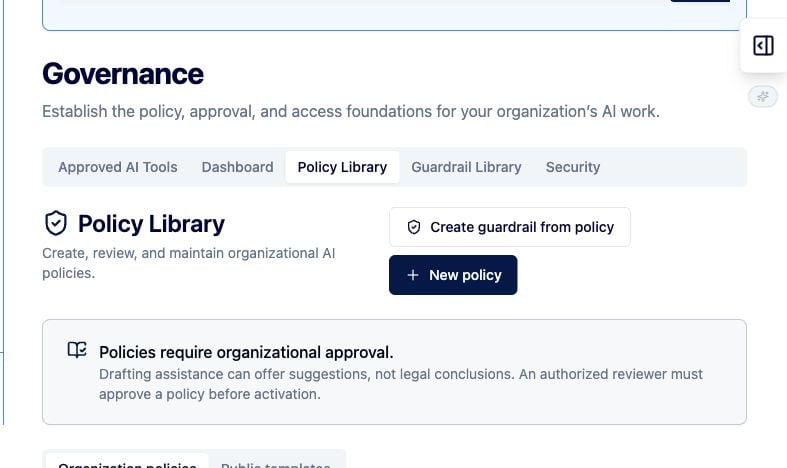
The Policy Library is where your organization drafts and maintains AI policies. Policies require organizational approval before activation.- Open Organization → Governance → Policy Library, or visit /my-org/governance/policies.
- Use Organization policies for your own policies and Public templates for starting points.
- Search or filter by status to find an existing policy.
- Select New policy and add a clear title, purpose, scope, owner, review cadence, and operating requirements.
- Save as a draft while the policy is reviewed internally.
- Submit the completed policy to an authorized reviewer. Approval is required before activation.
- Select Create guardrail from policy when the policy should be enforced as a reusable runtime guardrail.
- Define who and what the policy applies to.
- State requirements in language that can be checked.
- Identify the policy owner and review cadence.
- Record exceptions and escalation paths.
- Treat drafting assistance as suggestions, not legal conclusions.
3. Review organization governance tools
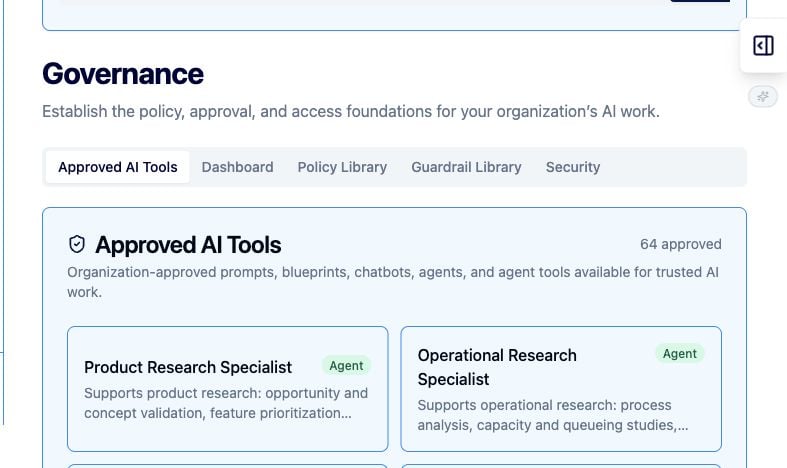
Approved AI Tools is the organization catalog of prompts, blueprints, chatbots, agents, and agent tools.- Open Organization → Governance → Approved AI Tools, or visit /my-org/governance.
- Review the approved count and catalog cards.
- Use the tabs for Approved AI Tools, Dashboard, Policy Library, Guardrail Library, and Security.
- Before approval, check ownership, intended use, access scope, model or provider, and applicable policies or guardrails.
- Remove or revise items that no longer meet organizational requirements.
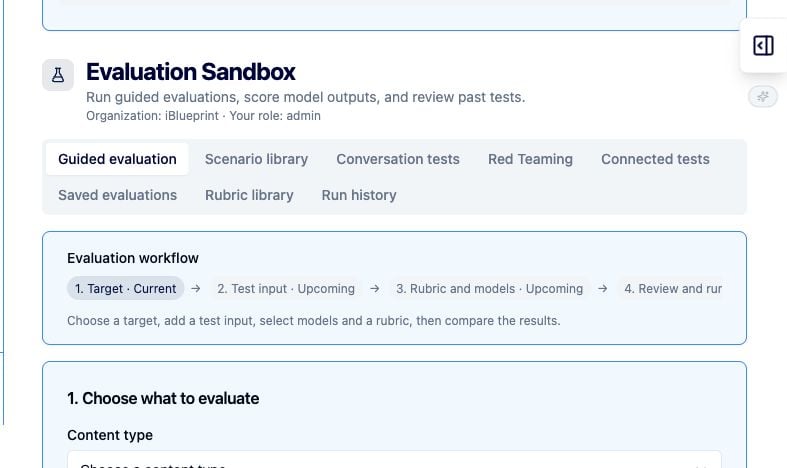
4. Run an evaluation in the Evaluation Sandbox
The Evaluation Sandbox tests model outputs against prompts, scenarios, rubrics, and selected models.- Open Organization → Sandbox, or visit /my-org/evals.
- On Guided evaluation, choose the content type and test-input type.
- Enter the System Prompt and required Test input.
- Choose or create a rubric with scoring criteria.
- Select Change AI connection or model and choose the model connection.
- Use Advanced parameters when you need generation controls.
- Select Run tests after reviewing the test count.
- Review results and save useful inputs as scenarios when available.
- Use Run history and Saved evaluations to revisit repeatable tests.
5. Create an organization agent
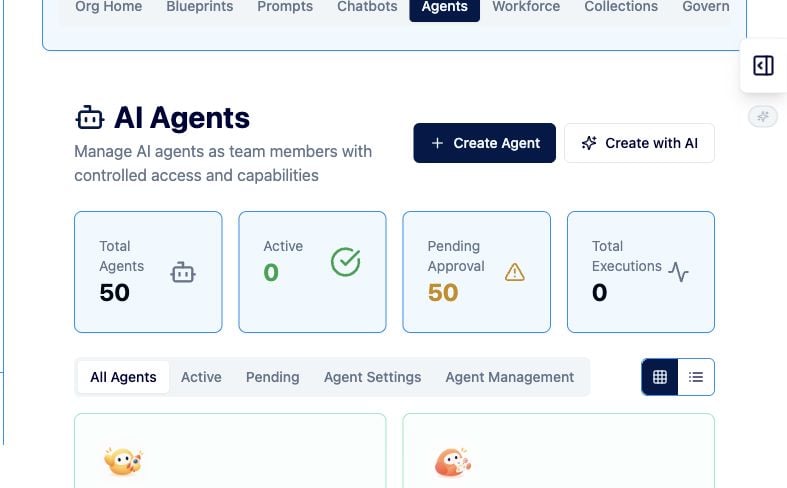
Agents are organization-managed team members with controlled access and capabilities. New agents start pending approval and are not ready to run until a provider and model are configured.- Open Organization → Agents, or visit /my-org/agents.
- Select Create Agent. Use Create with AI for the assisted creation flow.
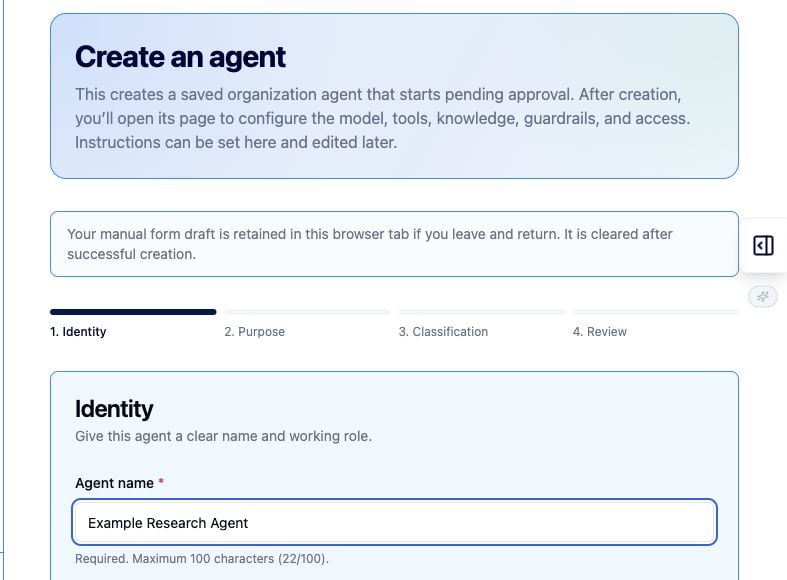
- On Identity, enter a clear Agent name, choose a Role, and select an avatar.
- On Purpose, describe what the agent does and add optional system instructions.
- On Classification, choose up to six categories, add comma-separated tags, and set visibility.
- On Review, confirm the details and select Create agent.
- Open the saved agent and configure its provider, model, tools, knowledge, guardrails, and access.
- Submit it for organizational approval. An approver must activate it before it can run.
6. Create an agent tool
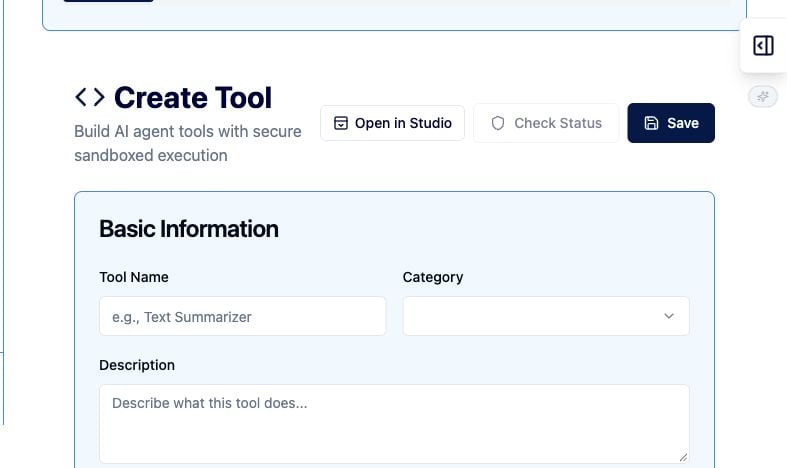
Agent tools are sandboxed functions that agents can call. Start with the smallest permission level that supports the use case.- Open Organization → Agent Tools → Create Tool, or visit /my-org/tools/new.
- Enter a descriptive Tool Name, choose a Category, and describe the purpose.
- Add tags for discovery and review.
- Choose the least-privileged Permission Level (Sandbox Tier). The default Restricted (Tier 0) is pure computation with no I/O or network access.
- Add each required input under Input Parameters, with a stable name, type, and description.
- Write or generate the implementation in Tool Code. Validate inputs before use.
- Select Verify to analyze the tool, then test with representative JSON input.
- Fix warnings and retest until behavior is understood.
- Select Save only when the code, inputs, permissions, and verification results are ready for review.
7. Set up your user profile
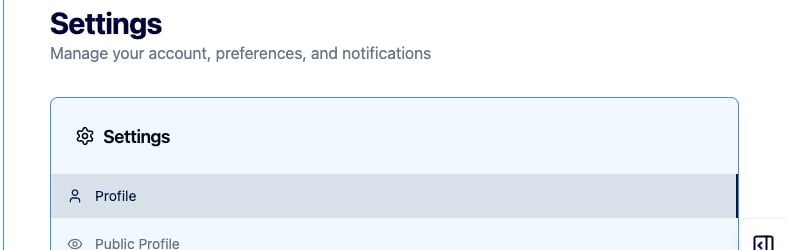
User profile settings apply to your individual account and preferences.- Open the top-right user menu and select User Settings, or visit /settings.
- On Profile, update your first and last name.
- Add phone or address only when needed by your organization.
- Verify the account email shown by iBlueprint.
- Choose the preferred organization when more than one is available.
- Select Save Changes.
- Use Public Profile separately for information visible to other users.
8. Set up the organization profile
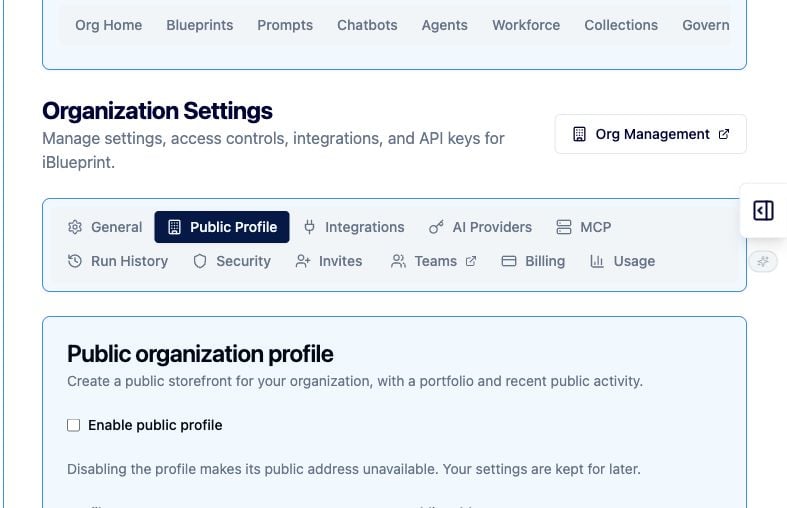
The organization profile controls general information and, optionally, a public storefront.- Open Organization → Settings, or visit /my-org/settings.
- In General, review the organization name, slug, and description. Select Edit to change them.
- Select Public Profile.
- Turn on Enable public profile only when the storefront is ready.
- Add the profile name, public address, description, logo, website, and approved social links.
- In Portfolio, select up to 30 public items to feature.
- Review the public-facing result and save the profile.
- Use a public-safe description with no secrets, private customer details, or internal identifiers.
- Confirm the logo and external links are approved for public use.
- Select only content already public or explicitly approved for publication.
- Revisit the profile when ownership, branding, or featured work changes.